Perfect Audio Levels Instantly
This tutorial will show you how to get perfect audio levels for all your audio clips using Premiere Pro. Whether you need to adjust one clip or multiple clips, I’ll show you how.
Setting Up Timeline
- Similar clips should be placed on the same tracks: ex. Music on Audio 1, Verbal on Audio 2, etc.
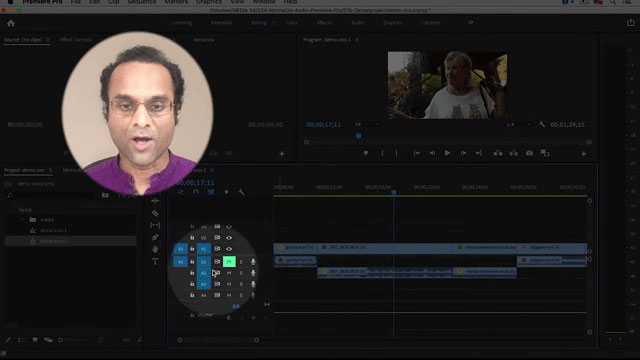
- Give descriptive names to each track.
- Increase track height. Double-click on track and then after it opens, hover the mouse pointer over the line at the bottom of the track in the track header, wait for it to turn to double arrows, click and drag down.

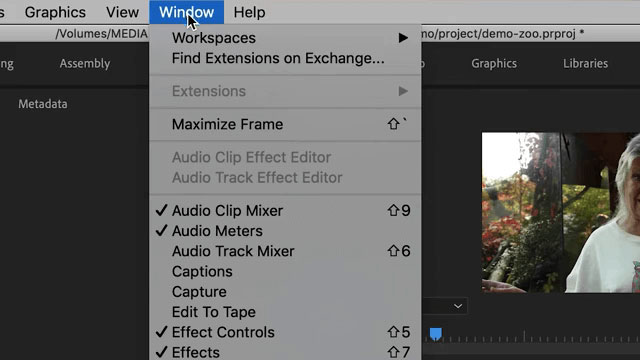
- If it is not visible already, open Audio Meter (Windows > Audio Meter).
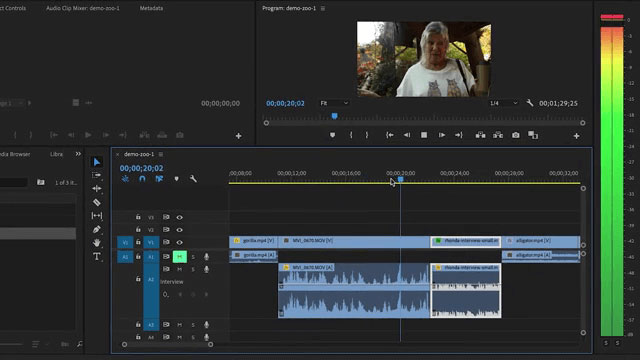
Viewing Levels On Audio Clips
- If the clip peaks above 0 on the Audio Meter a red light goes on, indicating that the volume is too high. This is called clipping.
- To determine where the audio peaks, right-click on the Audio Meter, choose Static Peaks. With Static Peaks active, it will show exactly where the audio is the highest.
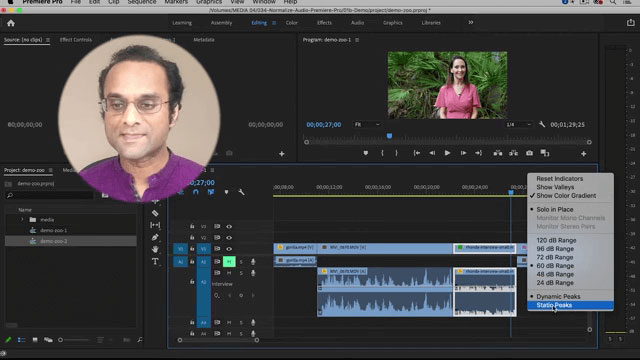
Note: Optimal peak level is -3.
Normalizing Using Audio Gain On A Single Clip
- Select the clip that you want to normalize.
- Right-click > Audio Gain
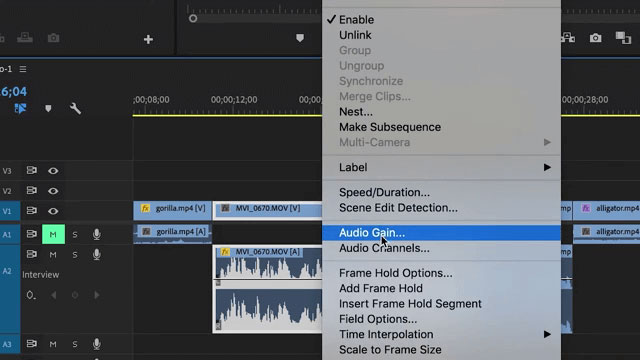
- In Audio Gain Window select Normalize max peak to.
- Set max peak to -3.
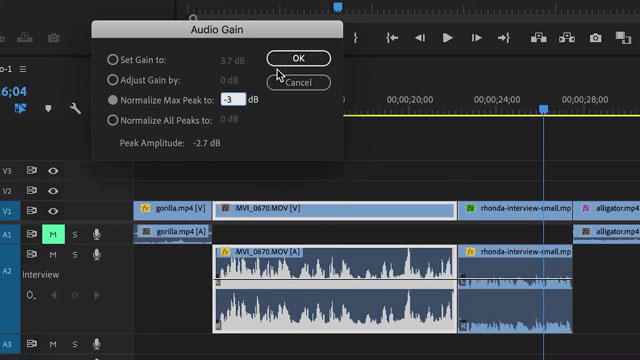
- Click OK.
- Notice adjustment in the entire waveform for that clip.
Normalizing Using Audio Gain On Multiple Clips
- Select the clips that you want to normalize. Either by holding down Shift and clicking on each clip, or clicking in the area next to the first clip and then dragging across all the clips that you want to select, releasing on the last clip.
- Right-click > Audio Gain
- In Audio Gain Window select Normalize all peaks to.
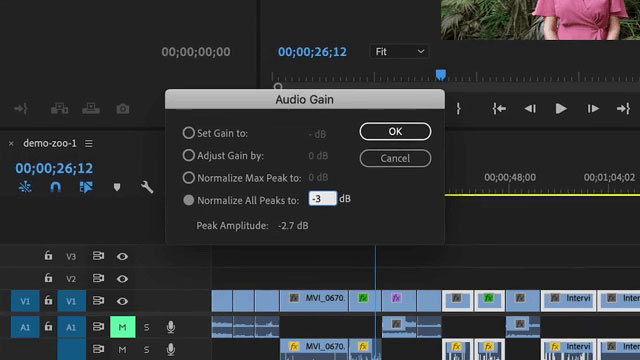
- Set max peak to -3.
- Click OK.
- Notice adjustment to all the waveforms in all the clips.
If this tutorial was helpful, leave a comment, or feel free to ask questions. Look for my other tutorials about adjusting sound in Premiere Pro.
If you would like to keep up to date on my tutorials, please click on the subscribe button on my video or on my YouTube channel.
Keep learning and growing!


 Premiere Pro Training Classes
 After Effects Training Classes
 Photoshop Training Classes
 Dreamweaver Training Classes
 Web Development Training Classes
 WordPress Training Classes